Simple Steps for a Better Fit
Getting a proper bike fit from a trained individual at a bike shop is expensive. It typically costs around $200, but don’t go out and spend your hard-earned cash just yet. We’ve got a few suggestions. Before we explain what changes you can make, there is one main factor that can’t be changed that must be taken into account.

THE FRAME
Out of the gate, having the right frame size is of the utmost importance. If you fall right in between recommended sizes, make your decision based on the type of riding you do. If you want more maneuverability over terrain, you may want the smaller size. If you prefer stability, the larger size might be best. Ideally, go for a test ride before you make the purchase to get an idea of how the bike will feel.
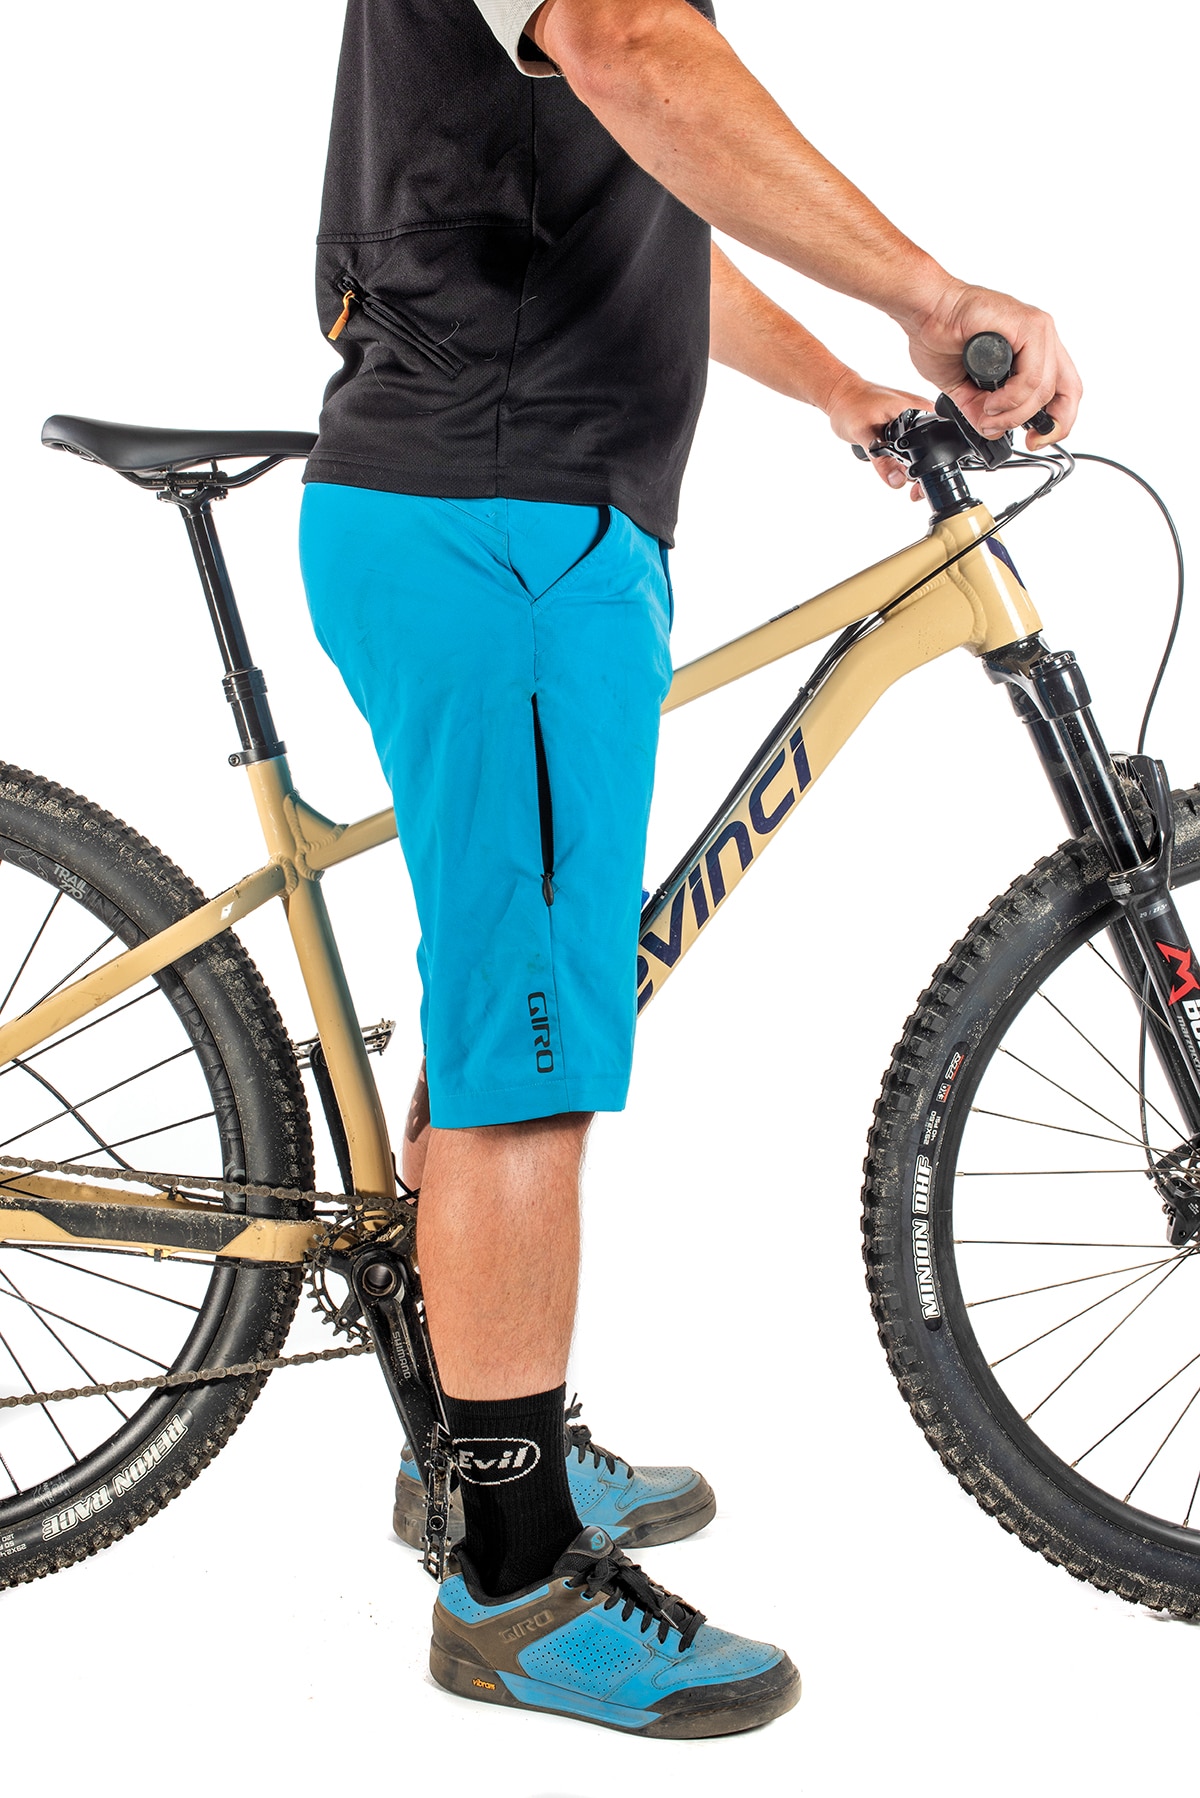
If you have made the right decision, the bike should feel relatively comfortable. The riding position should not be up too high and stretched or too low and cramped. A general rule of thumb is that you should be able to place your feet flat on the ground when you dismount the bike. These days, standover height is a bit more difficult to address, since there are sloping top tubes on frames. The sloped shape can give the illusion that the bike is smaller than it is. If that is the case, it is best to focus attention on the reach numbers for sizing.


THE HANDLEBARS
Okay, you’ve got the right size for your height/inseam, but there are some minor things that could use adjustments. We will begin at the front of the bike where we can start making changes to improve comfort. For most, their body type or riding style might warrant a wider handlebar than what comes stock; however, most trail/enduro bikes come with 800mm bars that some may even cut down. With a wider handlebar, there is more steering stability, which is great for nastier terrain; but, this does slow down your steering maneuverability. An additional benefit to running a wider bar is it opens your chest more, encouraging easier breathing when putting down power up hills. While the handlebar is one factor for your hands, your shifter and brake lever positions are also important. We try to set both so our wrists are not bent at an awkward angle, leaving a small degree of freedom for movement. Anything more than 15-20 degrees of a bend and you are at risk of unwanted injury or strain.
Another thing to consider at the front is your handlebars being too low or high. In simple terms, the goals of adjusting bar height can be broken down into these two points: You should have a comfortable back angle, and it should feel natural to look ahead without straining your neck.
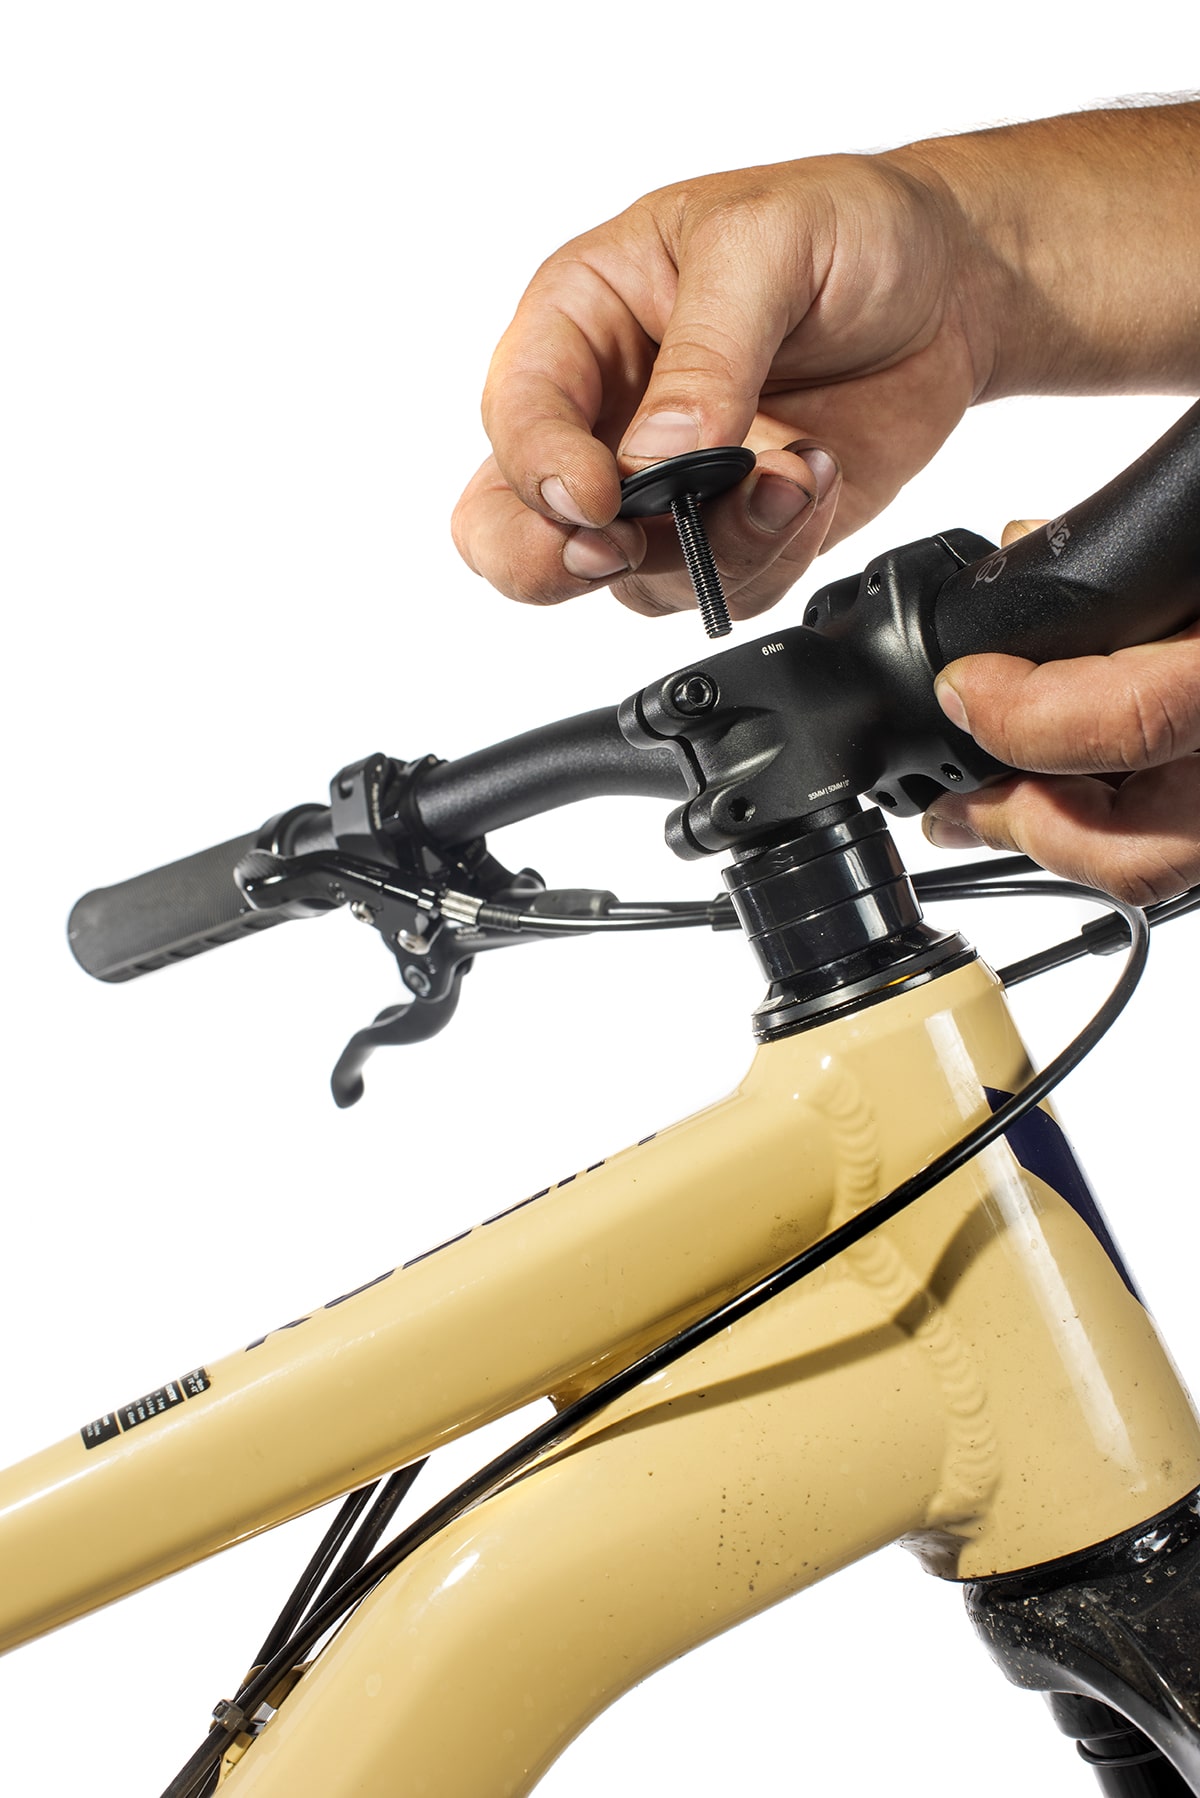
First, there might be a few spacers that allow you to raise and lower the stem. If your fork steerer is long enough, you can rearrange a few spacers (or even change their sizing) to find a better position. Of course, there is only so high up you can go if you run out of area to properly torque your stem’s pinch bolts. You can also look into getting a stem or handlebar with a different degree of rise to achieve the same goals. Stems and handlebars come in a variety of options, and we recommend seeing if a shop is willing to swap test parts to pedal around the parking lot. This can be a quick indicator of what will be best for your riding style.

THE STEM
While we just covered some helpful info about the stem and how that affects your riding position, there is more to consider. Riders with disproportionate leg to torso ratios will want to be cognizant if changing up stem length for a more comfortable riding posture. A longer stem can pull a position forward, forcing a rider bend more at the hips. The result is slower steering with added weight over the front wheel.
On the other hand, shortening the stem moves the rider toward the center of the bike and adds curvature to the back. This adjustment leads to a more upright riding position. Ideally, the rider should have his elbows slightly bent when riding straight ahead. This helps the upper body act as a natural absorber when maneuvering the bike. The goal of having a proper stem length is to create a position that alleviates the upper body soreness and removes excessive force toward a rider’s palms. Most cross-country stems range in length from 65mm to 130mm. When we are talking about modern trail, enduro or downhill bikes, typically stems range from as short as 25mm to as long as 55mm.

THE SEATPOST
Once you have dialed in the right frame and worked through a few of the steps mentioned, it’s time to set the seatpost height. We like to have the saddle set parallel with the ground. For you dropper post fans, make sure the post is fully extended when testing height. You may need to have help with support on this next step, but we’ve also used a wall. Hop on the bike and with proper support position your feet on the pedals. A good starting point is having the ball of your foot on the axle and your foot slightly pointing down a few degrees. Your legs should not be fully extended. A good rule of thumb is to have about 10–15 degrees of movement before your leg locks straight.
This next tip for adjusting the saddle position is typically what a bike fitter will use as well. Start with a basic seat height position with the cranks set at 3 and 9 o’clock. From there, you need to get a little crafty. Take a piece of string and tie a weight to it. Sit on the bike in your riding position and begin to pedal backwards a few strokes. Then stop at 3 and 9 o’clock again. For this adjustment, it can be very helpful to have another set of eyes as your spotter. Hang the weighted string from the bony protrusion just below your knee cap (known as the tibial tuberosity) and have a look at where the string intersects your crankarms. Ideally, it should sit right in line with the pedal axle. If the string falls forward or behind, you must slide the saddle rails accordingly to fix your positioning. If you still need more adjustment past the limit on the saddle’s rails, you might want to consider looking into a seatpost with a different offset.

THE CRANKS
This is a big step and may not be the most important bit to adjust; however, it is worth understanding your crankarm length. Most manufacturers in the mountain bike world offer cranks from 165mm to 180mm, typically in 5mm increments. The proper crankarm length usually depends on the rider’s height and inseam. A shorter individual (around 5 feet to 5-foot-5) may want to consider 165–170mm cranks. For someone taller (around 5-foot-5 to 5-foot-10) a 175mm crankarm is the usual. On the other hand, if you have short legs, a shorter crankarm may be a better choice for overall position. Again, not the most crucial adjustment to make, but worth considering when dialing in your fit.


THE CONTACT POINTS
While we’ve gone over adjustments and some parts to change if needed, let’s now look into the major contact points: the grips, pedals and saddle. There are a plethora of grips on the market today. When combing through the options, we like to consider this major question: what is your preferred riding style? Riders doing cross-country or all-day epics would likely want a lightweight, ergonomic design, while a downhill or enduro rider may prefer the tackiest option to maximize grip/comfort.
Setting up your cleats is the second-most important fitting task after choosing the correct frame size. There is nothing worse than riding in the wrong position and straining your knees with an improper pedal stroke. The process is simple, but like some of our other steps it may require another set of eyes. Attach the cleat to your shoes so that if you were to draw a line from the center of the pedal axle up it would intersect with the largest part of your foot. We’ve used a camera or a mirror to take a look at the front of our feet to make sure they run parallel with the crankarms. This type of position will ease the pressure on your knees and help your feet when releasing from the pedals.
The right MTB saddle is subjective. If you are racing, taking on a long adventure without much on/off the bike, or tackling an enduro course, there are saddle designs specific to those situations. Aside from padding and support, it is important to take into account the saddle width. To find the best saddle width, a rider must measure his sit bones (pelvic bones). We like the at-home method that involves sitting upright on a piece of corrugated cardboard for a few minutes. After you’ve had a few minutes to sit, mark the main impressions of the sit bones on the cardboard. Find the center point of the two impressions, and finally measure the distance between the two points. This should match up to the widest part of the saddle for the best fit possible.
EDITOR’S NOTE
While we hope this helps get you thinking about comfort during your rides, this is by no means an “end all, be all’’ article on proper bike fit. This is based on the years of experience of our test riders. Getting the most from these tips will require a lot of trial and error to get a feel for what helps you feel most comfortable.


