GETTING A GRIP ON YOUR MOUNTAIN BIKE’S GRIPS – EVERYTHING YOU NEED TO KNOW ABOUT THE VITAL CONTACT POINT
Getting the right grip for your mountain bike and installing them correctly is key to comfort and control

GETTING A GRIP ON YOUR MOUNTAIN BIKE’S GRIPS
The grips that adorn the handlebars of modern mountain bikes, like the bikes themselves, have come a long way from their humble predecessors of the 1980s and 1990s. The first mountain bikes had simple foam grips or bar tape similar to road bikes that were brittle and wore down quickly if you didn’t tear them off in a crash or brush with a tree. They were a simple interface with the bars that aimed to do little more than give you something to hold on to.
By the latter half of the 1990s, different rubber compounds, including Kraton rubber, and ergonomic designs began to gain traction that helped riders keep a firm grip on the bars and were the beginnings of vibration damping in bike grips. Brands also started to experiment with different grip textures and patterns to help with rider comfort and bike control.
The early 2000s saw the introduction of lock-on grips that were revolutionary and made installation and removal much easier compared to slide-on grips of the past. As time goes on and technology improves, so, too, will the grips that we attach to our bars and hold onto for dear life.

THE SCIENCE
Starting with the basics, modern mountain bike grips are usually made of a rubber compound, a silicone compound or a combination of the two. Rubber compounds are usually chosen for their familiar feel and durability over time, and strike a good balance between grip and comfort for the rider.
Silicone, on the other hand, has gained traction in recent years for its lightweight and vibration-damping properties, especially with the cross-country crowd. Some brands choose to use a blend of rubber and silicone compounds that can produce a grip with the positive attributes of both.
Within these different compounds, varied levels of softness, tackiness and durability allow manufacturers to dial in the exact blend to get the results that they want.

Looking to the future, 3D printing may present the next opportunity to design and produce mountain bike grips in a more sustainable way and free from manufacturing restrictions. Lizard Skins looks to be one of the first to do so with their single-compound 3DGRP that utilizes advancements in 3D printing technology to create a unique and lightweight grip with all the advantages of traditional compounds.

The next important aspect of a mountain bike grip, second to the rubber compound itself, is the actual design and pattern that these compounds are shaped into. Most grips fall into one of two general designs: finned (also known as ribbed) patterns and waffle patterns, each of which brings its own benefits and drawbacks.
Finned grip patterns appeared before waffle patterns and are the “classic” grip texture. They are usually smooth to the touch and offer effective vibration-damping properties out on the trail, making them popular with riders who spend long hours in the saddle and want to reduce stress on their hands. Many people who ride without gloves also prefer this pattern for the initial softness and ability to shed moisture.

That isn’t to say that finned textures don’t have their drawbacks, however. The biggest complaint with this type of pattern is the “float” that it can create between your hands and the bars. Riders who crave intuitive control and immediate feedback may find that finned patterns create too much disconnect compared to the comfort they can bring. Finned grips can also wear more quickly compared to other patterns.
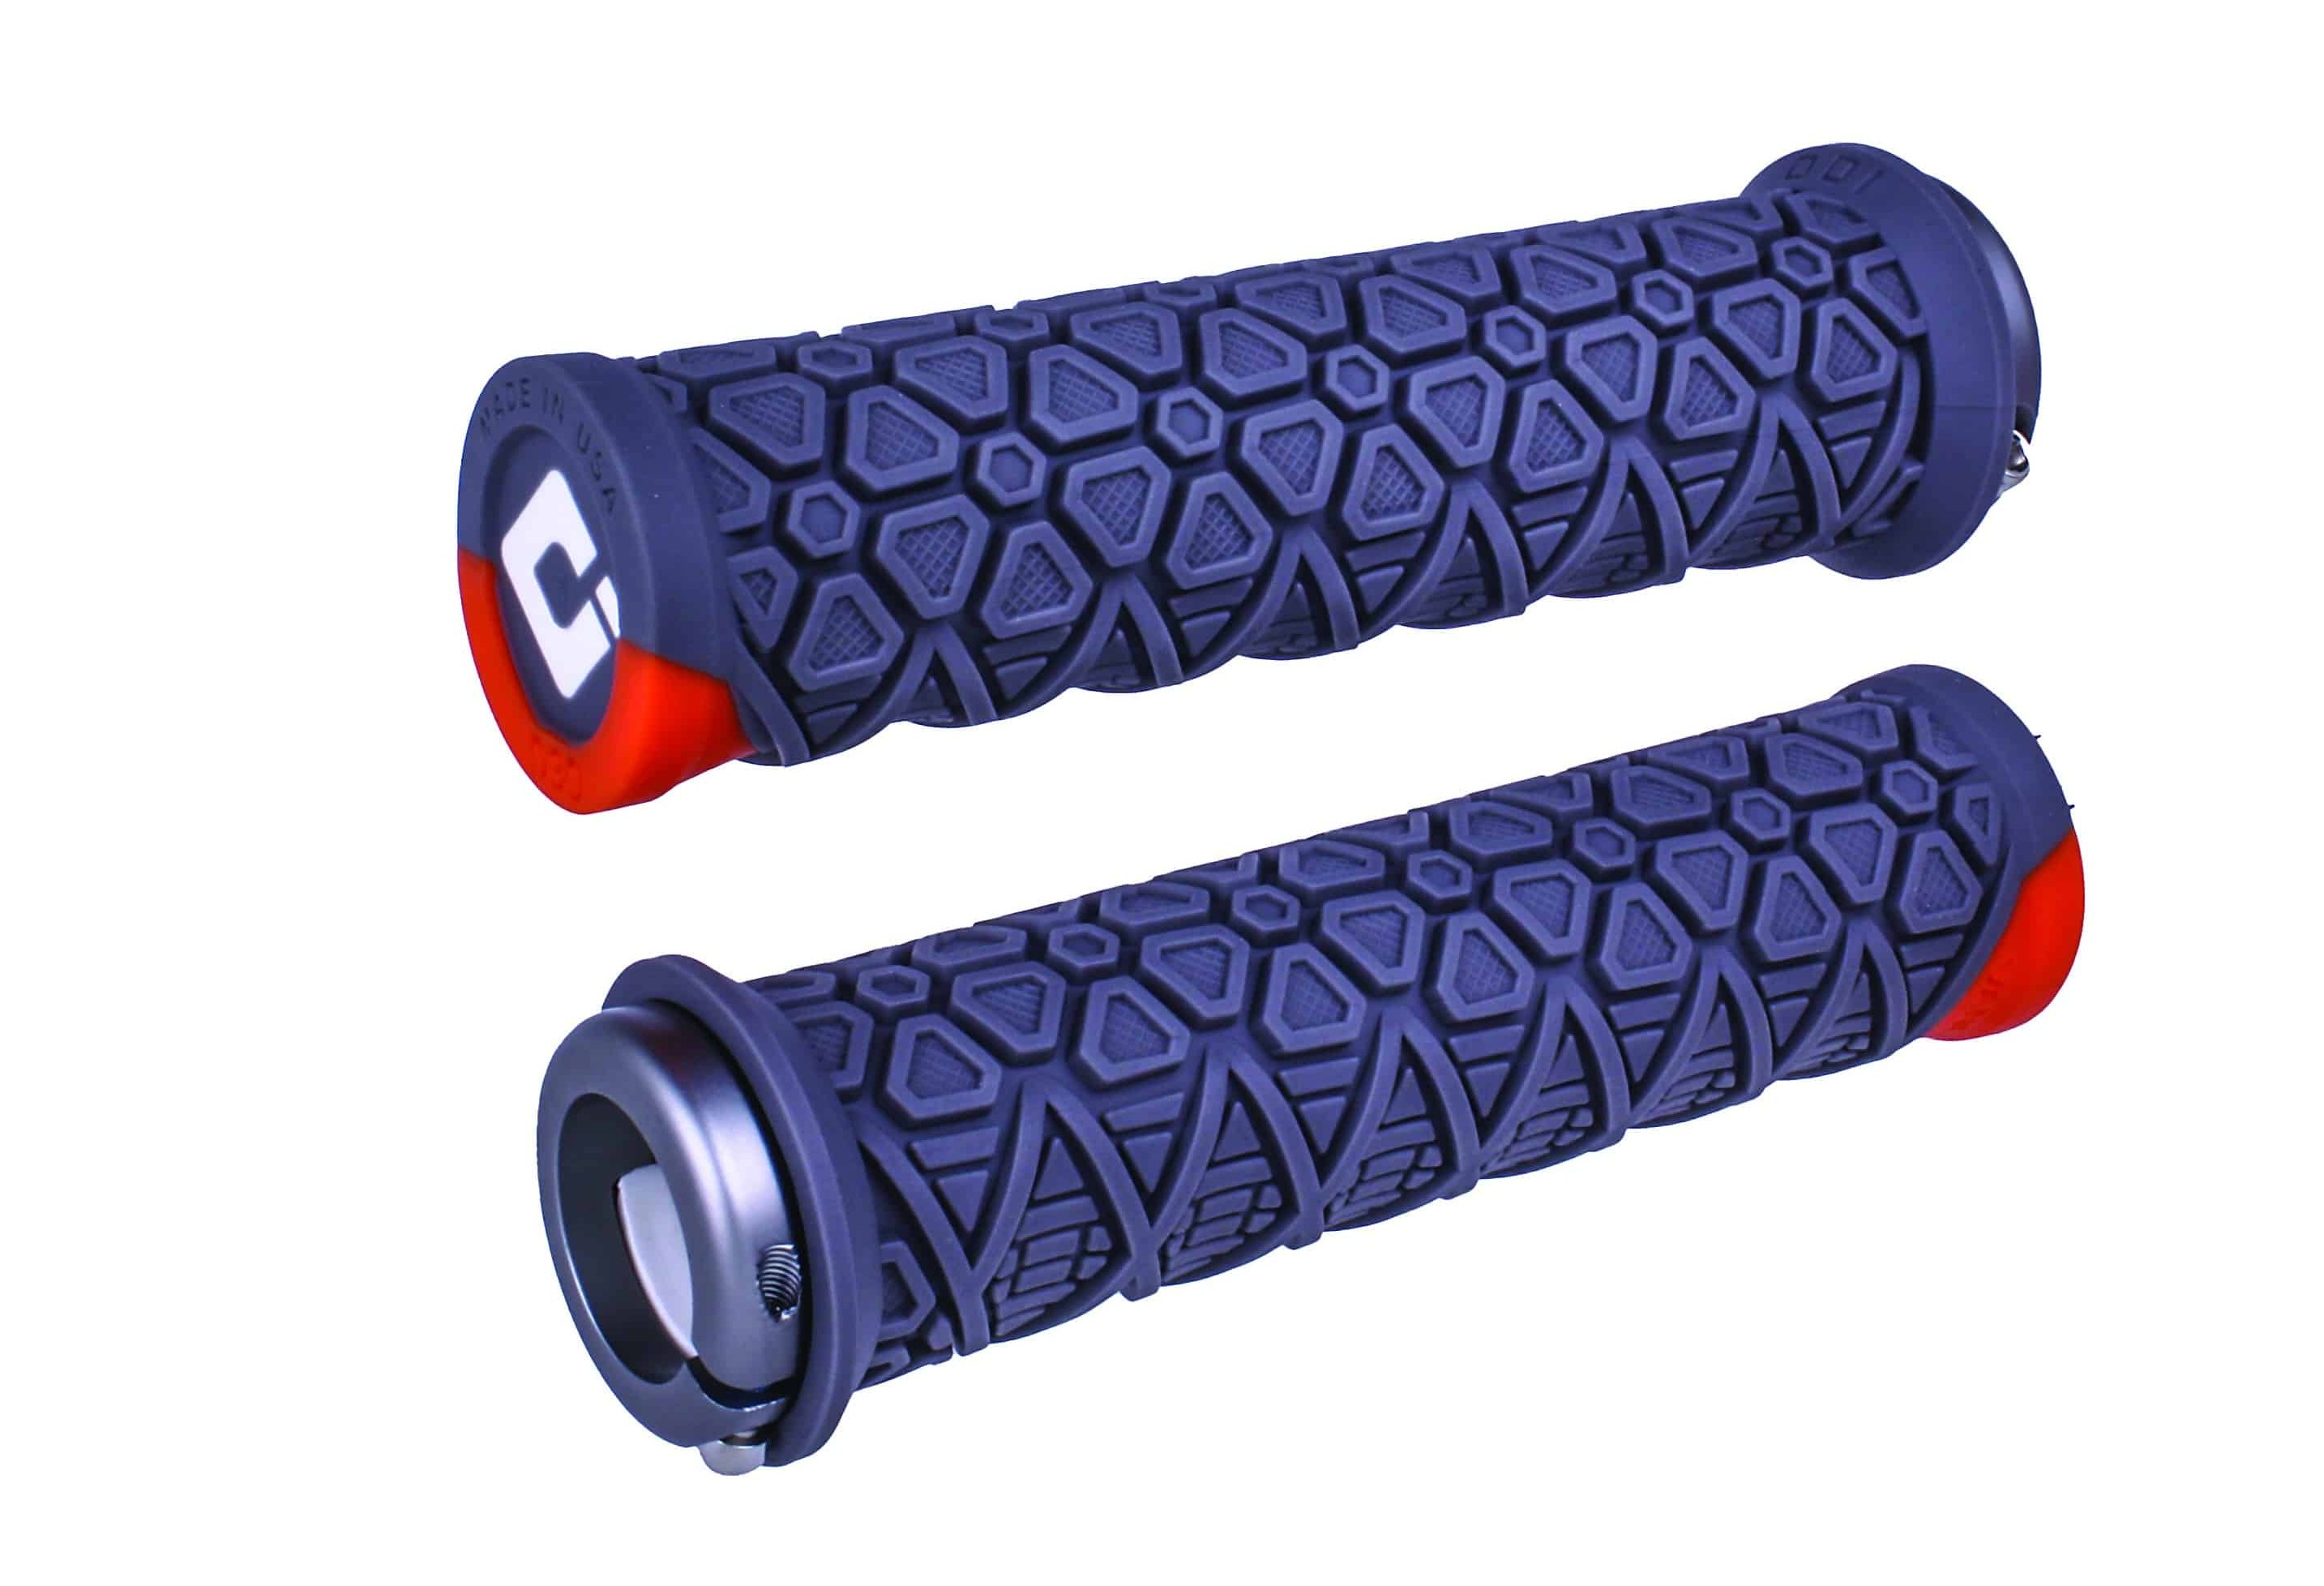
On the other hand, waffle-style patterns have exploded in popularity and are more effective in conforming to the shape of the rider’s hand. The square “waffle” pattern of the grip helps lock in the individual fingers and allows for more freedom in design compared to finned grips (shape, size, and placement of the pattern).
Waffle-style grips are also more effective in shedding water and help the rider maintain a more secure grip when conditions are unfavorable or when hands get sweaty. They typically have less “float,” meaning the rider receives more feedback from the bike and can be very precise in their steering while maintaining a secure grip on the bars.

Just like with finned grips, waffle-style patterns also have their drawbacks. Some riders feel they can be harsh or rough when riding without gloves, and more vibration is transferred to the rider’s hands on long descents. Those who prefer a more cushioned feel and want comfort above all else on long rides may not appreciate the more pronounced feeling of a waffle-style pattern.
Looking at grip development over the last few years, many models don’t feature a symmetrical pattern and use a combination of finned, waffle-style, and diamond-like patterns to highlight their positive attributes.

Deity’s Knuckleduster and DMR’s DeathGrips are examples of this, with the inner part of the grip having a finned-style pattern and the outer part featuring a combination of waffle and diamond-style textures. This allows the inner part of the hand, where the majority of the pressure is concentrated, to have more cushioning and shock absorption, while the outer part of the hand and fingers can be closer to the bars and feel “locked in.”
Ergonomics have also come to the forefront when it comes to mountain bike grip development. Brands like SQ Lab and Ergon are specialists when it comes to making grips that not only conform to the complex shapes of the hand but also improve hand and wrist position and help eliminate pain. Different materials and asymmetrical shapes relieve pressure and help promote blood flow, leading to less pain and hand fatigue while riding; models that have more material on top of the grip allow for more cushioning and vibration absorption.
The hand is incredibly complicated, with dozens of different bones, muscles, ligaments, and nerves that companies consider when developing ergonomic bike grips.
GRIP INSTALLATION TIPS AND TRICKS
The process of installing lock-on bike grips is pretty universal across the board, though grips with asymmetrical and ergonomic shapes usually have an “up” position and are specifically designed for the left and right hands. For example, Ergon’s GDH Team grips have markings on the collar that show the correct orientation and make it easier to line them up symmetrically.

To install the majority of lock-on grips, all you need to do is make sure the bolt in the collar is loose and slide them over the end of the bars. Once you have them lined up correctly and have the collar in the proper position (usually with the bolt on the underside of the bars), you can torque down either the 2.5mm or 3mm bolt to the appropriate spec.
Some grips now come with dual-locking collars for added security, where the inner collar is tightened first and then the outer one. The tapered core is another recent innovation that helps keep the grips secure on the bars. This is where the outer end of the grip is tapered to a slightly smaller diameter and requires a few taps from a mallet to get them fully seated.

Note that when installing all lock-on grips, it’s vital not to over-torque the bolt in the collar, which is usually 2.5 or 3 N/m; it’s easy to do and will force you to buy a new collar or a whole new set of grips.
If you find that your grips still move after torquing them down, then a tiny dab of carbon paste on the inside of the grip can be your solution. This creates a bond between the bars and the inner sleeve of the grip that holds them in place but still allows them to be removed when need be.
Installing a set of slide-on grips is a bit more labor-intensive and involves a few more steps compared to lock-on grips.
There are several popular methods and tricks for installing slide-on grips, but our three favorites are the zip-tie method, the air compressor method, or using isopropyl alcohol or hairspray.
The zip-tie method involves sliding 8–10 ties inside the grip, distributing them evenly with your finger, and sliding the grip over the end of the bars with the flat end of the ties first. The zip-tie’s plastic surface will let the grip slide onto the bars with less friction, though it will still take some effort. Once seated on the bars, pull out the zip-ties either by hand or with a set of pliers.


The zip-tie’s plastic surface will let the grip slide onto the bars with less friction, though it will still take some effort. Once seated on the bars, pull out the zip-ties either by hand or with a set of pliers.

Using an air compressor involves short bursts of high-pressure air to reduce the friction of the grip and allow it to slide onto the bars. A small compressor attachment is forced under the inner end of the grip, and it is slowly slid into place. This is also an excellent and more sustainable method for removing slide-on grips without having to cut them off.

The isopropyl alcohol or hairspray method is about as simple as it sounds: spray the alcohol or hairspray onto the inner diameter of the grip and bare handlebars, and slide them on. It may take some twisting, turning and a little bit of patience, but they should slide on.

Both compounds act as a lubricant to help slide the grip onto the bars while evaporating quickly to lock them in place. Note that it’s essential to let all of the liquid evaporate before going out to ride, as any residual alcohol or hairspray can cause the grip to slip or move. We usually give them at least 24 hours to dry.
Looking for new grips? Check out our mountian bike grip reviews here.


