HOW TO FIX YOUR MOUNTAIN BIKE’S CREAKING THREADED BOTTOM BRACKET

Stuck crank bolt? Creaky bottom bracket? No worries.

The bottom bracket is the most likely culprit for the most annoying noises your bike can make. Bottom bracket trouble is indicated by a dry and gritty noise with every pedal stroke and is usually worse under load. Even if the noise you’re hunting down ends up being somewhere else, removing, cleaning, and regreasing the threaded bottom bracket and frame interface is critical to keeping you bike rinning trouble-free. This is especially true if you ride in exceptionally muddy or dusty conditions. Bottom bracket maintenance should be performed more often if you wash your bike frequently.

For this “Garage Files,” we’re looking at one of the most commonly spec’d crank and bottom bracket systems—the threaded SRAM DUB. This setup has worked tirelessly for us on many test bikes and is a benchmark for performance; however, it can be notoriously stubborn when it comes to this otherwise simple and very rewarding maintenance procedure. This giude will also work for most other threaded bottom bracket setups but be sure to check with the manufacturer for torque values and assembly order specifics.

NECESSARY TOOLS:

—Sharp 8mm Allen wrench

—Grease (brush optional)

—SRAM DUB bottom bracket tool with ratchet

—Pipe for leverage

—Clean rag

—Allen keys for chainguide, if applicable


First, we must remove the upper guide and set it aside


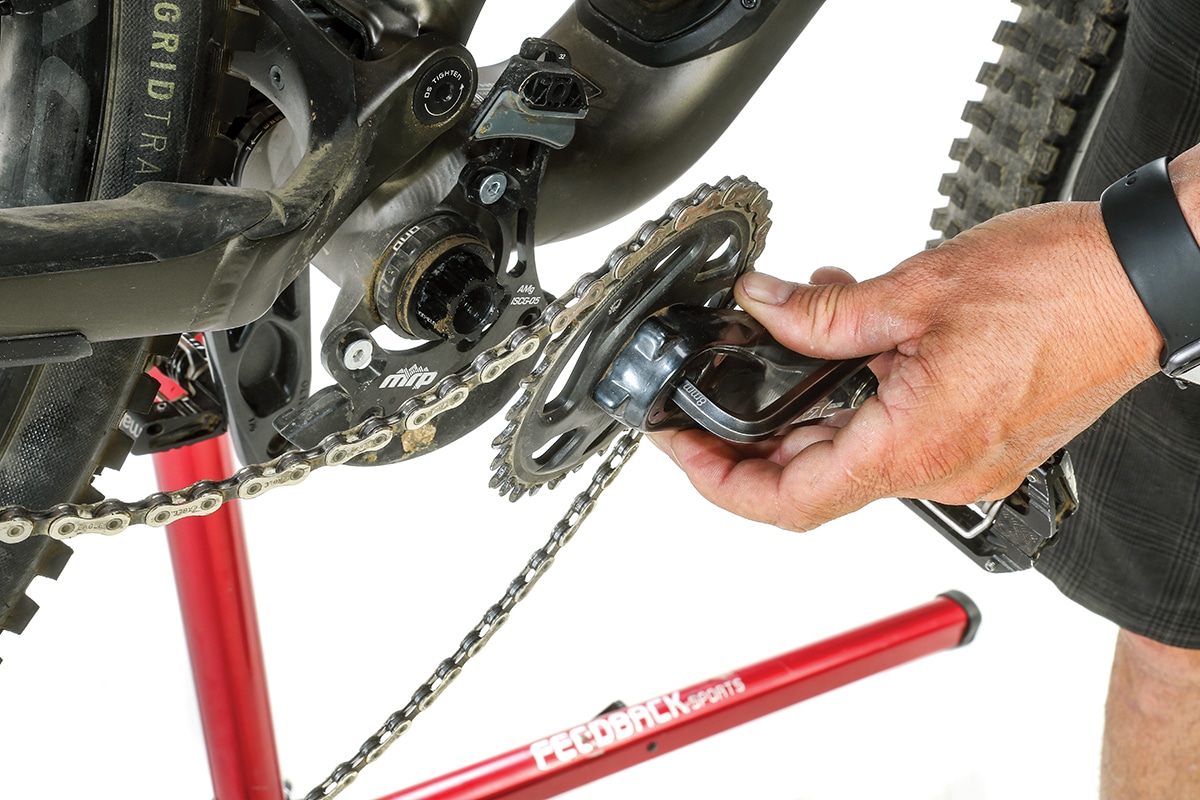
If you’re using a SRAM derailleur, you can use the Cage Lock feature to release the chain tension and keep it off


Try to remove the crank bolt by using the opposite crankarm for leverage. You may find this bolt is stubborn. Be sure the sharp and unrounded end of the Allen is all the way in before applying much force.


Using both hands to rotate the cranks, you can hold the lever bar with your body. This technique doubles your leverage and gives plenty of control when applying this amount of force. It should come loose with a metallic, “Pop!”


Loosen the crank bolt all the way and the crankarm should come right off.


Use this time to clean the back side of the chainring. Bonus points if you remove the ring and clean the crank spider. It’s only three extra T-25 bolts to do this.


Remove the left-side crankarm, which is fixed to the axle.


Use the DUB bottom bracket tool to remove the cups. The drive-side cup threading is reversed, which means you rotate clockwise to remove the cup.


It should be two to three turns before the cup comes out fully.


Remove the left-side cup. This side is a standard threading, which means you rotate counterclockwise, to the left, to loosen.


When removing this side, the plastic bottom bracket sleeve will come out with it. This is designed to keep contaminants away from the bearings and may be covered in grit like this one.


Very carefully clean the entire bottom bracket assembly. Be extra careful around these little blue O-rings, which are extra difficult to replace in the tiny channels if removed. They also like to stick to rags inserted like so. Be warned.


Your bottom bracket may have one or multiple click-on spacers attached to the cups. These are removable and easily cleaned, but critically must go back in the place they came from to keep your chain line and drivetrain aligned.


Use the rag to clean the inside of the frame. Remove as much of the old grease and contaminants as possible. Especially neglected bottom brackets could potentially have standing water in them.


Apply grease to the threads in a neat but liberal way.


A little extra coating on the frame threads doesn’t hurt. The goal is to have a thin layer of grease between all the metal surfaces.


When you go to thread the cups back in, start by hand to avoid cross-threading. The first few rotations should be smooth and easy to spin.


Use the ratchet to finish torquing the cups. If you have a torque wrench, you should set it 50 N/m. This should feel a bit more than snug with a medium-sized wrench in your hand. There is no need for extra leverage with the pipe for install.


You can put a thin layer of grease on the crank axle, but most of it will be pushed off by those little blue O-rings inside the bottom bracket cups.


Reinsert the crankarm until it bottoms out. This is a good time to double-check you still have all your spacers for the crank in the right places.


Align the crankarm opposite the other side and thread the crank back on. The chain will still be slack to do this easily with the Cage Lock still on.


Tighten the crankarm bolt to 54 N/m. This should be very snug with your medium- to large-sized 8mm Allen wrench. Still, there’s no need for the extra leverage of the pipe here.


Release the Cage Lock by pushing the cage forward and releasing it. The drivetrain should snap back to normal tension.


Replace any chainguide parts, double-check your work, and go hit the trails.


You might also like
edit